We understand that 3 to 5-day old broccoli sprouts have 10-100x sulforaphane. Sulforaphane is one of the most powerful detoxification compounds and antioxidants ever known to man. There are many studies that show that adding sulforaphane to your diet is beneficial for a long list of health issues, and powerfully effective against cancer.
HOW TO GROW YOUR OWN BROCCOLI SPROUTS
Unlike sprouting wheatgrass, growing your own broccoli sprouts is so much easier, without the use of soil. Remember, you want to sprout it for only between 3 and 5 days when their nutrients peak. So you’ll want to do a few small batches so you get the most of its nutrients, instead of growing large batches.
Go here, to learn how much broccoli sprouts you need daily, if you’re adding it as an anti-cancer diet.
To grow your own broccoli sprouts, you will need just a few items:
Mason Jars And Sprouting Lids
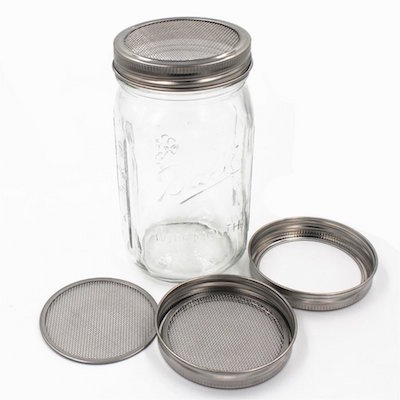 Mason jars come in two standard mouth sizes: The regular and the wide-mouth. Get the wide mouth one that is about 3-inch (76mm) wide.
Mason jars don’t typically come with sprouting lids, so you will need to get them separately. I prefer the stainless steel ones over the plastic ones.
Organic, Non-GMO Broccoli Seeds For Sprouting
Make sure you get high quality, organic broccoli seeds only—they are richer in nutrients. You may start with a small 2-pound packet of seeds to see how you like sprouting. You need only 2-3 tablespoons for each jar of sprouts, so 2 pounds of seeds should last you a while. I got these broccoli seeds that germinate well >>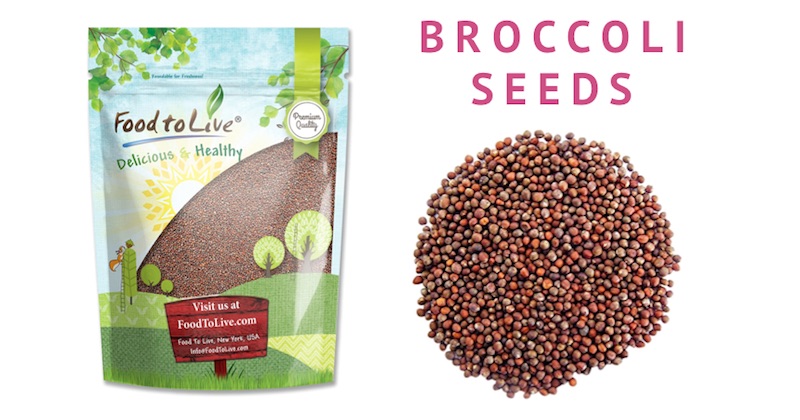
STEP-BY-STEP GUIDE TO GROWING YOUR OWN BROCCOLI SPROUTS
If you are a “visual person” like me, you may like to watch this 4.5-minute video. Sprouting your own broccoli is so easy, but remember you want them at only 3 to 5 days old.
Instructions:
- Get a few mason jars with sprouting lids.
- Put 2-3 tablespoons of organic seeds in a jar.
- Add water to cover the seeds and swish them around.
- Put on the sprouting lids.
- Leave them in a dark and dry place, such as under your kitchen counter or in the larder.
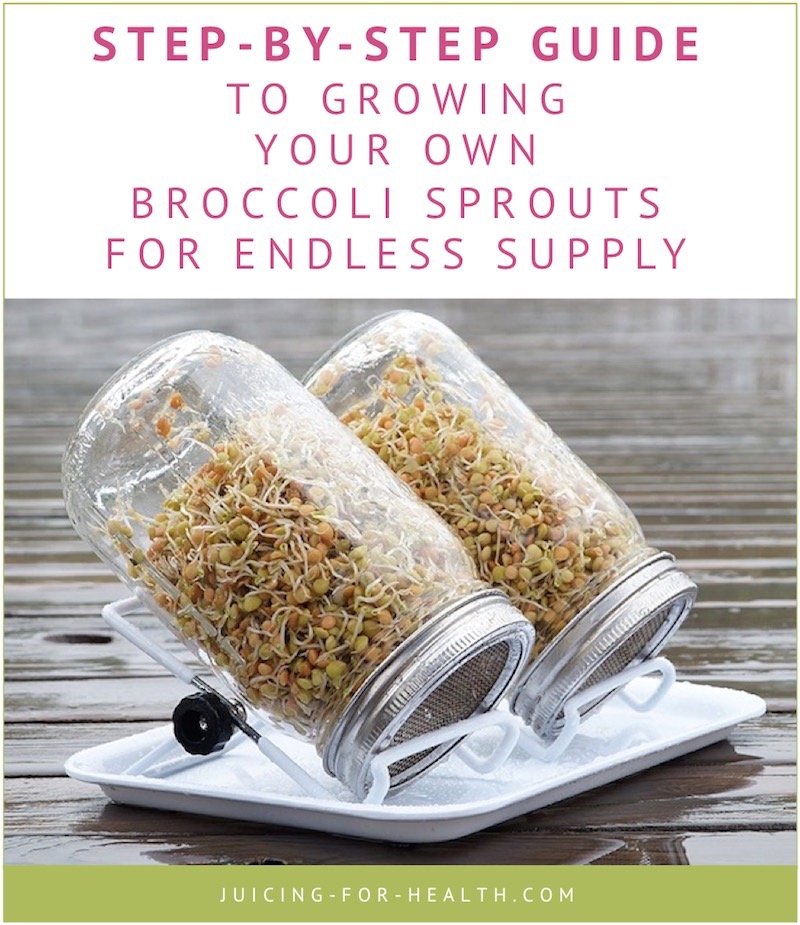
- After 10-12 hours, drain off the excess water and tilt it mouth-side downwards at 45 degrees in a big bowl, to continue to drain off the water. You don’t want them sitting in water as they will grow mold.
- For the next few days, repeat step 6. Every 12 hours, add water to rinse the sprouts, pour out the excess water and leave it mouth-side downwards to drain off the water.
- Between the third and fifth day, your sprouts are good to eat! If you like, you could also sprout the seeds up to 7-9 days in indirect sunlight. At that stage, they’re good to be eaten, added to your salad—just eat them as they are! So nutritious!
Let us know how you’re doing with sprouting and share pictures of your sprouts!