Your makeup look might end up resembling a panda if you do not know how to apply eyeliner. We are not saying pandas aren’t cute, but they do not attend weddings or parties.
Jokes apart, eyeliners can make or break your look with a simple stroke. They are the most important makeup item in every girl’s vanity, even those who prefer keeping it simple.
Drawing the perfect wings or accentuating the beauty of your eyes with eyeliner can be a pretty challenging task. Of course, the pros ace the game every time. But if you are a beginner, you might require some practice to ensure precision. That is why we are here to help you with a step-by-step tutorial on applying eyeliner perfectly. So, what are you waiting for? Swipe up for the details on how to do eyeliner!
Before we talk about how to apply eyeliner, we must go through the basics of the types of eyeliners out there that you can use.
 Keep In Mind
- Eye Shape: Choose classic cat eye or winged eyeliner for hooded eyes, an exaggerated winged look for monolid eyes, and floating crease eyeliner for almond eyes.
- Eye Size: Sport thick eyeliner for big eyes and winged liner for small eyes. Avoid heavily lining your waterline if your eyes are small.
- Eye Distance: Apply a clean eyeliner line with a short upward wing for wide-set eyes, and start your eyeliner from the middle of the eye for close-set set eyes.
- Makeup Looks: Opt for bold eyeliner styles like the graphic and floating crease for party makeup looks and natural, winged, or reverse-winged liners for casual and formal subtle makeup styles.
Types Of Eyeliners
Gel Eyeliner:
Although this may seem intimidating at first, this is probably going to become your best friend if you love a cat eye look. I, for one, swear by it. They usually come in pots, so you’ll need to use a brush for it. This can also help to create bold liner looks, amazing for waterlining, a double wing and or a simple thick liner application. I highly recommend the Eye Studio Lasting Drama Gel Eyeliner by Maybelline.
Liquid Eyeliner:
A liquid liner is best for precise eyeliner application. These liners come in two types of packaging, a tiny vial-like bottle with an extremely fine and precise dipping brush that easily flicks, and a marker type pen with a felt tip. If you’re a beginner, then I suggest you go for the latter one, because a brush application can be difficult to do. The Afro.Dis.Iac Liquid Eyeliner by Uoma Beauty is a good choice for the felt tip liner.
Pencil Eyeliner:
This type of eyeliner is usually the one we all start out with. It’s best used to line the water line and also to create a smokey look. The 24/7 Glide-On Eye Pencil by Urban Decay is the no-brainer choice for pencil eyeliner.
Now look at the things you will need to apply eyeliner flawlessly.
Things You Will Need
- Eyeliner (with an eyeliner brush if required)
- Primer
- Concealer
And now, we shall proceed with the tutorial on how to put on eyeliner with no further ado!
How To Apply Eyeliner Perfectly – Tutorial
Step 1: Prep Your Eyes
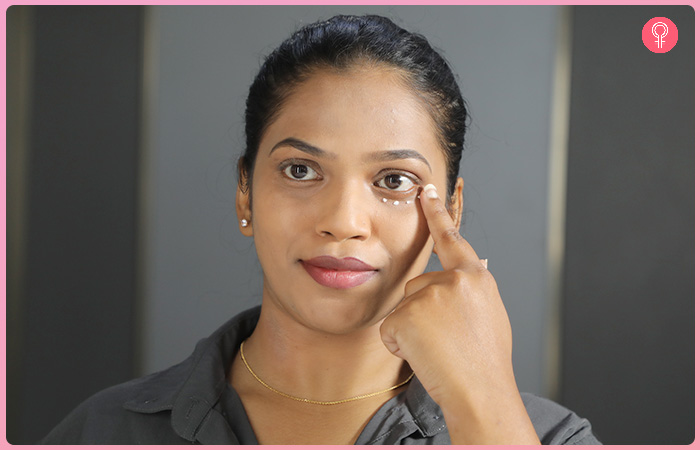
This is a step that is quite overlooked, but is, in fact, the most important step. After cleansing your face, apply a moisturizer for the face and an eye cream around the eyes. The eye cream helps with premature wrinkles and evens out any redness or discoloration near the area.
Step 2: Start With A Clean Base
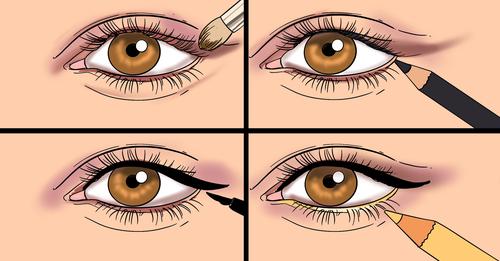
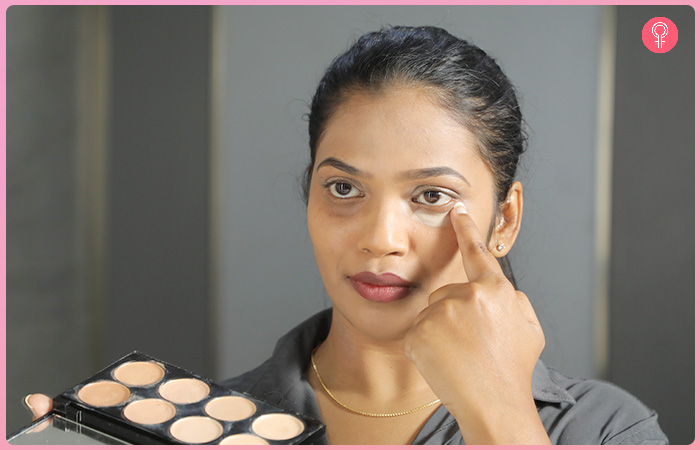
To achieve an even and clean base, apply a small amount of eye primer on the eyelid, under your eyes, and around the general eye region where any kind of eye makeup would go. The primer’s main job is to make the skin smoother so that it becomes easier to apply makeup. This will give you a flawless finish and also keep the makeup in place for a long time. Apply concealer on top of the eyelid and the under eyes. Blend it well, and make sure to set it with a setting powder.
 Quick Tip
Step 3: Line Away!
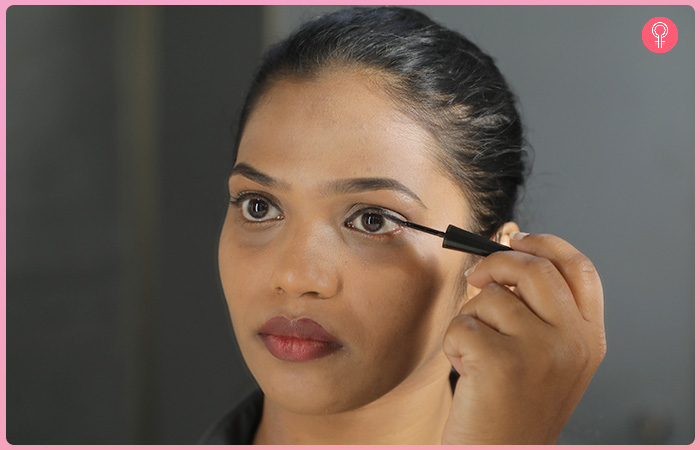
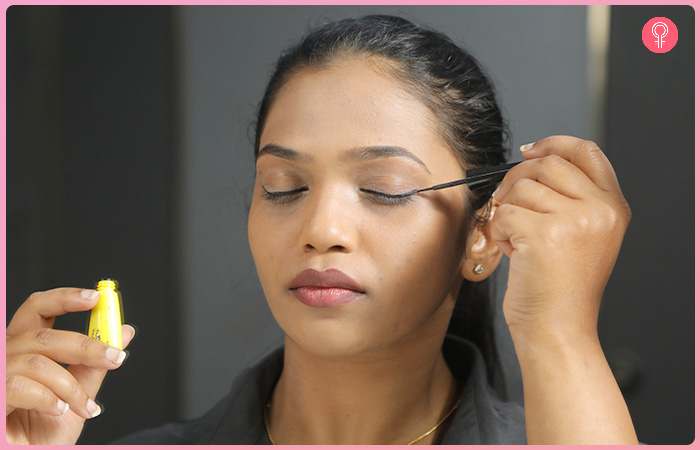
Now comes the main part – the eyeliner. You can either use the brush that comes with it or buy one. Start with a line above your lashes. Make sure you use small lines and strokes. It’s always better to build it up. If you make it too thick, you might create a mess out of it, so keep the strokes small. Once you are satisfied with one eye, do the same with the other one. Try to keep it as symmetrical as possible.
Now you have your basic eyeliner done!
But if you want to go further and wing it out, read ahead!
Step 4: Wing It Out!
I can never stop at just the eyeliner on the eyelid. I think I have an involuntary reaction to wing it out or something. I feel like it completes me somehow. Okay, so moving on to how you achieve this look. The trick to finding the right angle is to follow the natural line of the lower lash line. If a line were extended from your lower lash line, that is where your liner should wing out to. Map out the line and fill it in slowly. Take your time with this when you’re first starting out, because if you mess it up, you’ll have to start over.
Step 5: Finishing The Look!
After you have successfully created the shape of a winged liner (congratulations are in order!), you can proceed to line your lower lash line (only in the outer half) with a pencil liner and start smudging it out. Apply some mascara, and you are done!
 Quick Tip
Kayla, a blogger, shares a tip to perfect the winged eyeliner look. She writes, “Practice. Practice. Practice. Just like anything else, it takes practice to improve. I’m still practicing myself (i).” Here are some other tips and tricks to help you achieve that perfect wing.
More Tips And Tricks To Apply Eyeliner
- While applying, make sure you have a place to rest your elbow. This makes it easier to apply and provides you with a steady hand, which will give you a clean and precise finish. If you have a vanity or a table, it’s best to do your makeup on that.
- Use a cosmetic mirror. Trust me, this helps a lot! Usually, they come double-sided, where one side is a normal mirror and the other side is magnified. I find that the magnified one helps you achieve a cleaner finish as you can get a closer look.
- Always look down while applying your liner. Looking up can make you get the shape wrong.
- Do NOT stretch your eyelid while creating the wing. This will mess up the wing. Apply in small strokes without moving the skin too much.
- If you still find it difficult to create the extension for the wing in a straight line, you can use a credit card and create a line by holding it against your lower lash line to where your wing should be.
- You can also use tape to create the wing.
