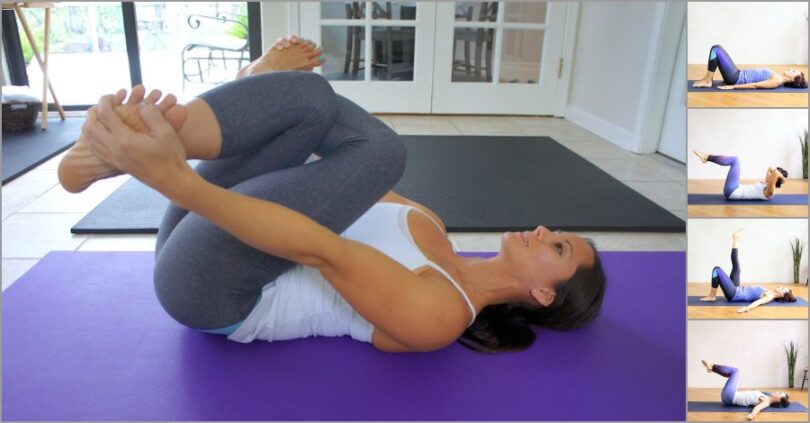
Lower Back Pain (LBP) affects most people at some point in their lives. In a majority of cases, LBP can be significantly reduced or completely relieved with Pilates. The combination of deep abdominal strengthening, postural awareness, and release and stretching exercises makes Pilates extremely effective in the prevention and treatment.
The Neutral Spine position taught in Pilates is used as the most functionally ideal or “perfect” posture for our bodies. The strong focus on core (deep abdominal) strengthening creates stronger support muscles for the spine. By implementing these techniques into your everyday life, you begin to fix the problem at the cause, rather than only treat the symptoms.
The exercises below can be used as a guide to relieving non-specific LBP (i.e. not as a result of an acute injury or condition), and are recommended to be done daily to most effectively treat and prevent LBP.
1. Pelvic Tilt or Imprinting
This simple but effective exercise gets the deep core muscle switched on and builds strength in the support system of the spine.

How to:
- Lay on your back in Neutral Spine (relaxed back muscles and natural curves), knees bent and feet flat on the floor.
- Breathe out and gently engage and “lift” pelvic floor muscles (those that stop you from urinating), then pull the navel in toward the spine so that the lower back ”imprinted” into the floor.
- Breathe in and relax the muscles and return to Neutral Spine.
2. Chest Lift
Core and abdominal strengthening exercise.

How to:
- Lay on your back in Neutral spine, knees bent, feet flat on the floor and hands behind the head. Pelvic floor and other core muscles engaged.
- Breathe out and lift the head and chest keeping the stomach pulling flat (not doming toward the ceiling), and pelvis still (not tilting toward you.)
- Breathe in to lay the head back down.
3. Supine Spinal Twist
Rotation helps to stretch the back muscles and controlling this movement also helps to strengthen the oblique muscles to further support the spine.

How to:
- Lay on your back, knees bent, feet flat on the floor and arms stretched out to the sides.
- Keep knees squeezed together (you may want to use a towel to help), slowly take the knees over to one side, keeping shoulder blades in contact with the floor.
- Breathe out pulling your navel into your spine and drag the knees back to the centre.
- Repeat the exercise 3-5 times to each side, alternating sides.
- You may choose to also hold the stretch position for 10-15 seconds.
4. Hamstring and Hip Flexor Stretch
There is a strong correlation between LBP and tight hamstrings and hip flexors. Stretching these muscles helps to immediately relief tension in the back and continued stretching over time will help improve the posture in the lower back.

Hamstring Stretch:
How to:
- Lay on back. One leg bent (foot flat on the floor) and the other leg lifted straight towards the ceiling. (Use a towel or resistance band to hold leg up if needed)
- Keeping the leg straight, pull the leg towards you as much as possible without twisting, until you feel a stretch.
- Keep your breath flowing and try to relax.
- You should feel a stretch in the back of the thigh.
- Hold for 15-20 seconds and then repeat with the other leg.
5. Roll Backs
Moving the spine using the abdominal muscles as done in this exercise, helps to not only stretch and relieve tension in the back muscles but also helps to strengthen the core and abdominals. It immediately creates greater ease of movement in the spine.

How to:
- Sit tall with the legs bent comfortably out in front and feet on the floor. Hands placed on the back of the thighs.
- Breathe out and begin curving the spine starting from the tailbone, rolling backward until arms are straight and the whole spine is curved in a C-shape.
- You should feel as though the navel is the furthest point pulling backward.
- Hold there and breathe in.
- Breathe out and bring the body forward, keeping the C-curve, until shoulders are over the hips, then stack the spine up to a straight, tall position.
- Repeat 6-10 times.
Tip: Try to keep the pelvic floor lifted and each vertebra lifted off one another throughout the entire exercise, rather than a sinking feeling into the curve.
6. Kneeling Arm and Leg Reach
This exercise works the entire stabilising muscle system for the torso.

How to:
- Kneel on all fours, ensuring the hands are under the shoulders, the knees are under the hips, and the spine is in neutral.
- Without moving the torso at all, reach one arm forward and the opposite leg back keeping the fingertips and toes on the ground.
- Lift the extended arm and leg off the ground, keeping the navel pulled in to help stabilise the torso.
- Hold for a few seconds before bringing the hand and leg back down and to the start position.
- If you’ve had to readjust, you will know if you have moved the torso during the exercise.
- Try to correct this with each repetition.
- Repeat 3-5 times on each side.
