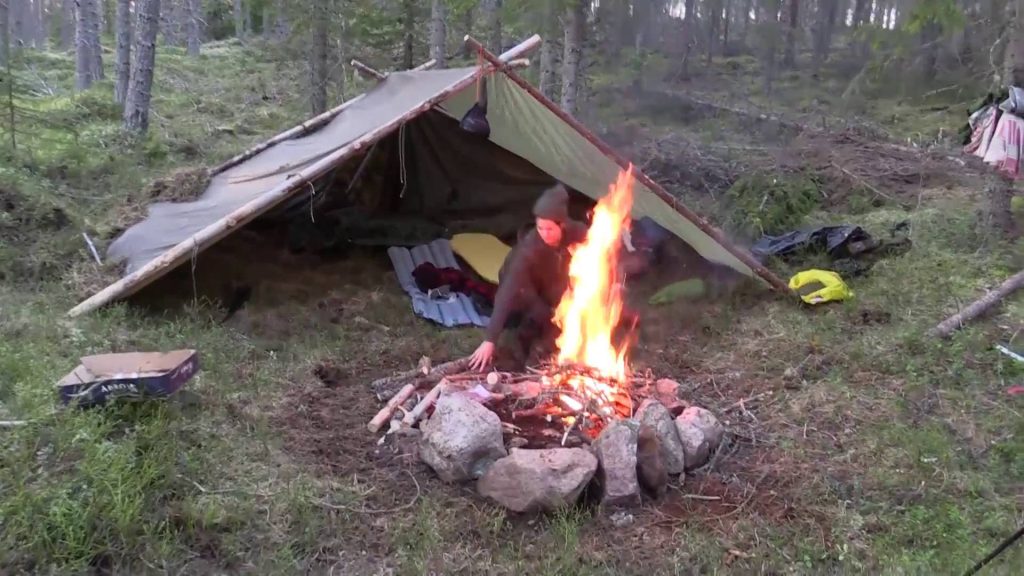
All of us should know how to build a couple of different kinds of shelters by heart, just in case we’re thrown into an unexpected survival situation. Out of all of the shelters that we can build in an emergency, few are as easy to set up as the A-frame. All you need are some support beams, cordage and a sheet of material to serve as the cover. You can even use branches and leaves as a cover if you’re in a pinch. Best of all, these shelters can be adapted to the conditions at the time, and it only takes a couple of minutes to build one.
Basic Design
A-frames are remarkable in their simplicity and effectiveness. A long log or branch is used as the backbone of the shelter. One end rests on the ground while the other rests on two support branches that are tied together and anchored in the shape of a triangle. You can adjust the height or length of the shelter by choosing longer or shorter branches as required, and a little bit of cordage is all that it takes to secure them together. For stronger shelters, you can add some additional branches to serve as support ribs along the length of the main support beam.
Once the frame is made, a tarp, canvas, plastic sheet or poncho should be enough to cover most of the shelter and provide basic protection against the elements. For more-permanent shelters, or if you want to build one with some insulation, use fronds that have a lot of green vegetation on them, and weave them into place along the sides of the frame. All in all, no matter what covering you decide to use, the process of building the shelter from start to finish shouldn’t take more than a couple of minutes to complete.
Aside from it’s rudimentary and effective design, the A-frame is also not labor intensive. You don’t have to dig, you don’t need to work with mud or rocks, and chance are that you will be able to find branches for the frame that are already laying around on the ground. In most cases, the hardest and most time-consuming part of building the shelter will involve gathering the material, and chances are that you won’t have to exert a lot of energy as you scavenge. Consequently, this is something that anyone can build. This is also a good shelter to make if you’re injured because you don’t need to do a lot of lifting or moving around to put it together as well.
Helpful Suggestions
To make the most out of the A-frame shelter, position it so that the foot-end is pointed into the wind, and choose ground that is as level and flat as possible. These shelters are surprisingly-aerodynamic, and the wind will be channeled around and over the shelter if it’s pointing in the right direction. Make sure to orient it toward the wind before building the frame, and try to construct it so that you can turn it around easily if the wind changes direction.
If you need something to anchor the covering, consider using large rocks to hold it down. You can also tie cordage to the rocks instead of using stakes. Rocks will help to secure everything nicely, and they are easy to move around if you need to reposition the shelter.
Take some time to practice building A-frame shelters in order to commit that process to memory. While they may not be the best, permanent solution, they can be deployed with ease in order to give you ample protection until you figure out what to do next. Few shelters are as reliable or easy to assemble as the A-frame, and you’ll be glad that you knew how to build one if you get caught up in an unexpected survival situation.
