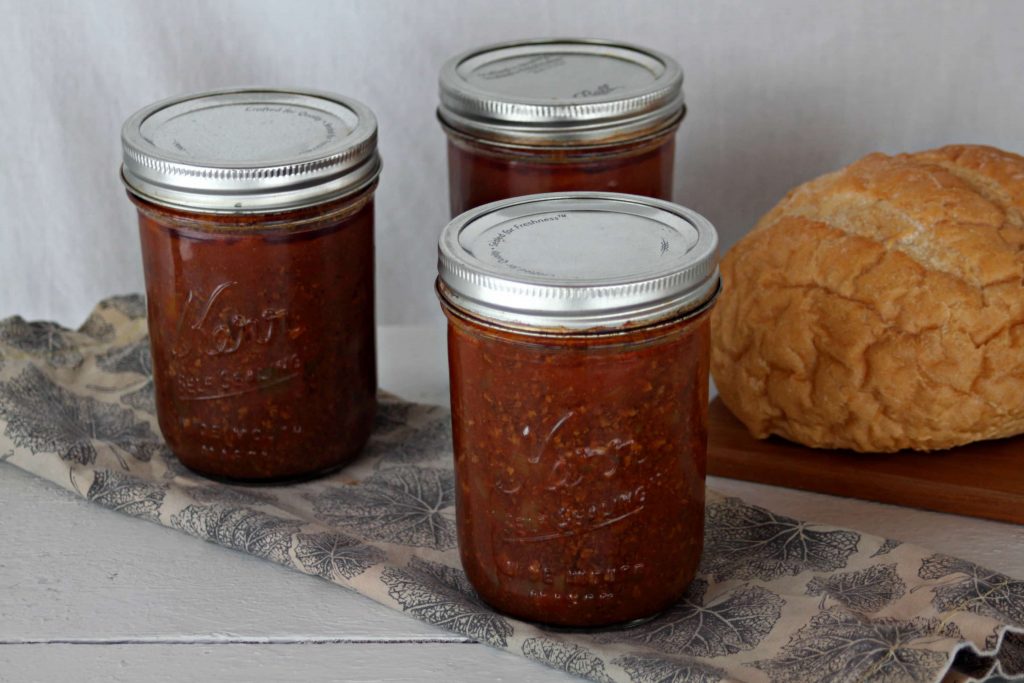
Sloppy Joe isn’t just a tasty comfort meal, but it also contains high levels of protein, carbs and minerals per serving, and this is why it is such a great item to have in our emergency stockpiles. It’s also pretty easy to prepare, and you can whip up a batch in no time. Here’s a recipe that illustrates the general steps, and the finished product tastes pretty darn good as well.
Ingredients
4 pounds of lean, ground beef
3 cups of chopped onion
2 cups of beef broth or 1 bullion cube
2 cups of tomato sauce
2 cups of ketchup or 1 can of tomato paste
1-2 cups of diced green bell peppers
1 tablespoon of yellow mustard or 2 teaspoons of mustard seed
1 tablespoon of garlic powder or 2 cloves of minced garlic
Salt and pepper to taste
Getting Started
The first step is to prepare and par-cook the sloppy Joe mix before canning. However, you want to prepare and preheat the pressure canner and sterilize the jars before starting this recipe. That way, you can transfer the mix into the jars and process them without delay once everything is ready.
Start by browning the beef in a skillet and draining the fat. Transfer the beef into a large stockpot before adding in all of the ingredients and stir. Let everything simmer for at least 5 minutes, and stir continually in order to prevent scorching. If you are using beef bullion instead of broth, add in 2 cups of water to compensate. Keep in mind that you don’t have to fully-cook the mix before canning because it will continue to cook during the canning process.
Next, place the sterilized and heated jars on the counter before carefully ladling in the mix. Fill each jar with equal amounts of mix until 1 inch of headspace remains. Make sure there are equal amounts of liquid in the jars as well. Use a wooden spoon, or the handle of a spatula, to remove any air bubbles before adding in more liquid to compensate. Wipe down the rims with a damp cloth or towel to remove any sticky residue before attaching and tightening the lid assemblies.
Processing and Storage
Place the jars in the canner and close the lid. Bring up the heat, and let the canner vent steam for 10 minutes before closing the vent holes and starting the processing time. Process quarts for 90 minutes at 10 PSI, pints for 75 minutes, and make sure that you’re adjusting for altitude. When finished, vent the canner to equalize pressure before opening the lid and carefully placing the jars on a towel-lined table or counter top. Let the product cool overnight until it reaches room temperature before inspecting the jars. Label and date the ones that are in good condition and have strong seals, and store them in a cool, dry place.
You can expect a shelf life of 12-18 months, but the product needs to be consumed right away if the jars are opened. For the product in defective jars, you can either eat it right away or store it in the refrigerator for a few days.
This is just a basic, generic recipe that has a lot of room for improvisation in terms of adding different seasonings and creating different flavors. However, the general process is the same, and it’s worth trying out. Whip up a batch today, and see how this simple recipe can be a great way to fill and warm bellies during a prolonged crisis. Chances are that you won’t be disappointed.
