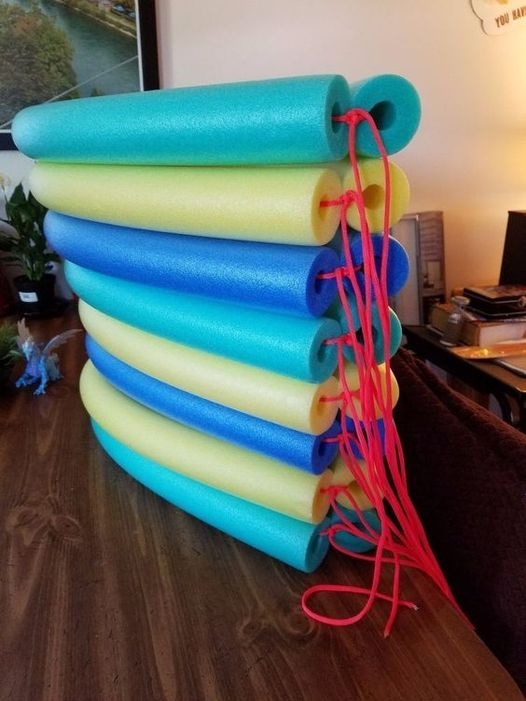
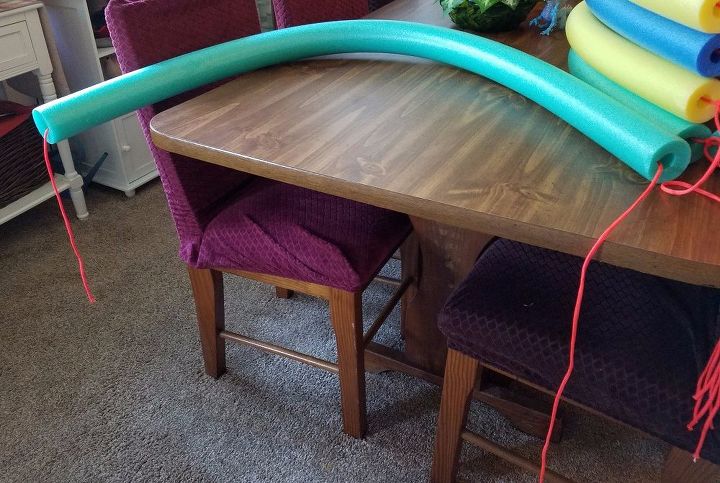
A while back I saw a post for a pool noodle chair and thought that, since my grandson was coming to visit , I’d surprise him with a float he could ‘chill’ in the pool with. Using the same method, this is what I came up with. (This is my first ever Hometalk post, so on that thought…here goes. 
Lay the noodles petal to petal to determine your color pattern if you are using more than one color. I used yellow, blue and aqua because those were the only colors left at dollar store when inspiration struck.
This photo shows how the zip tie sticks up when tightened normally. When the ribbed side is up, the end can be tucked between the noodles. (Cut the ends down to half an inch before tucking them and they won’t stick out the other side. Viola – no scratches) You only need one tie – there are two here only to illustrate the difference.
Next, use zip ties to secure the petals to each other. Note that the zip ties should be secured with the ribbed side up. See photos. I did them that way so the tab could be tucked into the petal. With the tab sticking up, there’s a chance a person could be scratched by it. It’s a bit tricky but it can be done by squeezing the pool noodle together while you tighten the tie.
Now you will use a simple knotting technique to make the center of the flower.
Take the left end of the cording on one noodle and tie it to the right end of the cording of the noodle next to it. Work your way around the circle, tying the left end to the right end until you complete the first set of knots.
Begin a second row in the same way, tying the left cord to the right cord.
A third and fourth row are illustrated. The circle will get smaller with each row of knots and begin to look like the center of a flower.
Push the remaining ends through the center hole if your strands are sticking out of the top of the pool float and secure them tightly with a zip tie. These two photos show the top and bottom of the pool flower float.
Toss it in the pool and enjoy a leisurely float.


